Cut two pieces of timber for the width and six pieces of timber for the length. You will need the four extra lengths to create inner joists. Position them in place before fixing together, to ensure that everything is the right size.
Step 3 – Assemble the base
Fix the outer frame together using an electric drill and screws. Next, place your inner joists within the frame and ensure they are equally spaced using a tape measure. Once you are happy, screw these lengths into the frame.
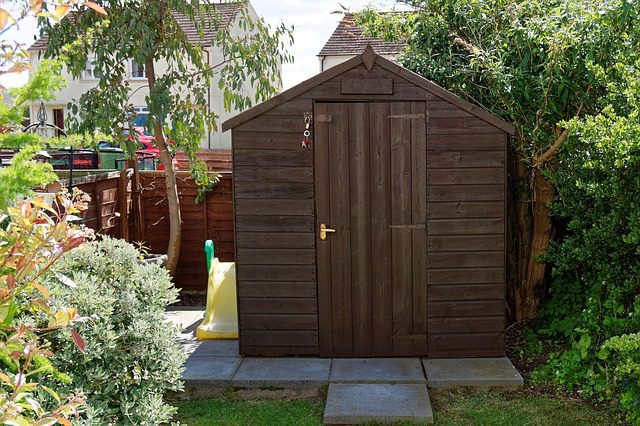
Building the shed
Step 1 – Lay down the floor
Lay down the floor of your shed on top of your platform. Check it is level using your spirit level. Once you’re happy, secure it in place.
Step 2 – Put up the walls
Erect your walls and secure them into place. You may need help from a family member in order to do this safely.
Step 3 – Attach the roof support bar
Measure the centre of your front and back panels to ensure that the roof support bar will be central. Fix this into position.
Step 4 – Adding the roof panels
You can now fix your roof panels to make the shed watertight. Once they are secure, you can add roofing felt, using felt tacks to keep it in place.
Step 5 – Attach trims and fascia boards
Finally, you can attach any trims which came with your shed, and fix the fascia boards on the front, covering the felt. You should pre-drill the holes to prevent them from splitting.